10 Common Types of Stains on Clothes & Your Ultimate Stain Removal Guide

Stain-removing guides are often challenging to write, primarily due to the nature of stains. Stains can vary greatly in type, source, and composition, making it difficult to create a one-size-fits-all solution. Different fabrics react uniquely to certain cleaning agents, and the methods that work for one type of stain may not be effective for another.
Different types of stains require different approaches, remember when it comes to removing stains, the temperature of the water matters a lot!
For instance, oil-based stains require different treatment compared to water-based stains, and the sooner a stain is addressed, the better the chances of successful removal. Additionally, some stains may set over time, further complicating the removal process.
Table of contents
- Golden Rules Of Stain Removals
- Common Types of Stains on Clothes
- How To Remove Coffee Stains & Tannin-Based Stains
- How to Remove Adhesive Stains (Glue, Tape, Gum, Stickers)
- How to Remove BBQ & Tomato Sauce Stains
- How To Remove Blood Stains
- How To Choose The Right Stain Remover
- Do’s & Don’ts For Stain Removal
Golden Rules Of Stain Removals
Before we get into the details of specific stains, it’s important to recognize a few core principles that apply to nearly every situation.
Keep these in mind, as disregarding them could lead to greater challenges down the line. Your efforts deserve to be effective, and following these guidelines can make a real difference.
Act Fast, Every Second Counts
Fresh stains are dramatically easier to remove than dried, set ones. The moment a stain occurs, the liquid begins to penetrate the fabric fibres and bond with them. Some stains, like red wine or blood, can become nearly permanent once they’ve had the chance to set. Keep a stain stick or small stain-removing kit nearby so you can treat spills the moment they happen.
Blot, Never Rub
This is the mistake most people make. Rubbing a stain pushes it deeper into the fabric and spreads it outward. Instead, blot firmly with a clean white cloth or paper towel, working from the outside edges of the stain inward. This lifts the stain rather than embedding it further.
Temperature Matters More Than You Think
When it comes to stain removal, this is the most important rule as temperature can make or break the entire removal process:
Cold Water: For stains of biological origin, your most reliable option is using cold water (15°C to 25°C / 60°F to 80°F).
Best for: Blood, sweat, dairy, grass, mud, and delicate fabrics like wool or silk.
Hot Water: To effectively break down oil and grease stains, use hot water ranging from 45°C to 60°C (110°F to 140°F).
Best for: Cooking oils, butter, motor grease, cosmetics, and heavily soiled sturdy fabrics like cotton sheets and towels.
Warm Water: For stains containing both light fats and water-soluble pigments, such as chocolate or tomato sauce, warm water (approximately 30°C to 40°C / 85°F to 105°F) is the most effective choice.
Best For: Chocolate, Tomato sauce stains
Never Dry Until the Stain Is Gone
The dryer is a stain’s best friend. Heat sets stains into fabric, often permanently. Always inspect a treated item before tumble drying, if any trace of the stain remains, retreat and wash again. Hang to air dry instead.
| For effective stain removal, immediately blot spills from the edges inward without rubbing, which prevents particles from embedding deeper into the fibers.
Use cold water (15°C–25°C) for protein stains like blood, warm water (30°C–40°C) for mixed stains like chocolate, and hot water (45°C–60°C) for oils and grease. Finally, ensure the stain is completely gone before using a dryer, as high heat will permanently set any remaining residue into the fabric. |
Common Types of Stains on Clothes
Different stains require different approaches because they bond to fabric fibres in different ways. Most stains fall into one of these categories:
| Stain Type | Examples | Key Removal Approach |
|---|---|---|
| Protein-based | Blood, egg, dairy, sweat | Cold water first; enzyme-based stain removers |
| Tannin-based | Coffee, tea, red wine, juice | Blot with a paper towel; mix 1 tsp white vinegar, 1 tsp dish soap, and 1 cup warm water |
| Oil/Grease-based | Cooking oil, butter, makeup | Use dish soap or solvent-based stain removers; rinse with warm water |
| Dye-based (Solvent) | Ink, berries, grass | Use rubbing alcohol or specialist stain removers; act quickly |
| Adhesive-based | Glue, gum, stickers, tape | Freeze to harden; use a solvent; gently scrape off |
| Mineral/Oxidation | Rust, fruit & sugar oxidation, calcium deposits | Apply acid-based treatments (lemon juice, white vinegar) |
| Particulate | Mud, clay | Let it dry completely, then brush off |
| Combination | BBQ sauce, tomato-based sauces | Flush with cold water, apply white vinegar, and use a stain stick |
The Universal Golden Rule of Stains: Always dab, never rub. Rubbing spreads the molecules outward and pushes them deeper into the fabric’s cross-weaves.
How To Remove Coffee Stains & Tannin-Based Stains
Primarily, tannin-based stains are common types of stains that originate from organic materials such as tea, coffee, wine, or certain fruits. These stains are characterized by their ability to bind quickly to fabrics made of cotton and linen, creating a stubborn mark that can be difficult to remove if not treated promptly.
Tannins, naturally found in many plants, have a strong affinity for cellulose fibers present in cotton and linen. When these stains occur, the tannins rapidly bond with the fibers, making it essential to act quickly to prevent the stain from setting permanently.
Rinse with Cold Water Immediately
As soon as you notice the stain, hold the fabric under cold running water. This will help to flush out as much of the stain as possible before it has a chance to set in the fibers.
Never rub aggressively!
Pretreat with Detergent
After rinsing, apply a liquid laundry detergent directly onto the stained area. Gently rub the fabric to allow the detergent to penetrate the fibers and break down the tannin stain.
Let it sit for about 5 to 10 minutes for optimal results.
Wash in Warm Water
Finally, launder the fabric in warm water (check the care label to ensure it’s safe for the material). This will help to further lift the stain from the fibers. Inspect the garment before drying; if the stain persists, repeat the treatment as needed.
What To Remember: Avoid putting the item in the dryer until the stain is completely gone, as heat can set the stain more firmly.
| Drink Stain | Key Component | Best Approach |
|---|---|---|
| Black coffee | Tannin | Cold water + stain stick + vinegar |
| Milky coffee/latte | Tannin + protein | Enzyme detergent + cold water (not hot!) |
| Tea | Tannin | Same as black coffee; act fast |
| Red soda | Dye + sugar | Blot fast + stain remover + cold wash |
| Clear soda | Sugar | Cold water is usually sufficient if treated quickly |
How To Remove Dried Coffee Stains & Tannin-Based Stains
Because the stain is dry, running it through a standard wash cycle won’t be enough. Follow this sequence to dissolve the dried crust and lift the pigment safely.
Loosen the dried fibers
Combine one tablespoon of liquid dish soap with two cups of warm water (between 30°C and 40°C). Use a clean cloth to dab the mixture onto the dried stain. The warm, soapy water expands the cotton fibers, helping to release the embedded pigments.
Apply an acid neutralizer
Pour a small amount of white vinegar directly onto the rehydrated stain. The acetic acid in vinegar actively breaks down the alkaline tannin rings. Let the mixture sit for 10 minutes to dissolve the discoloration.
Flush from the back
Turn the garment inside out. Run cold water directly through the back of the stain. This pushes the dissolved coffee particles forward out of the weave, rather than forcing them further into the fabric.
Launder with oxygen bleach
Wash the garment on a normal warm cycle using an oxygen-based powder cleaner (like OxiClean) alongside your regular detergent. Inspect the area while the fabric is wet. If the stain is completely gone, it is finally safe to dry.
| If the dried coffee stain has already been through a hot dryer cycle, it has been “heat-set.” You can still try the method above, but you may need to submerge the entire garment in a bath of warm water and oxygen bleach powder for 4 to 6 hours to force the set-in chemical bonds to release. |
How to Remove Adhesive Stains (Glue, Tape, Gum, Stickers)
Adhesives are polymer-based substances that bond tightly to fabric fibers, making them a common challenge when it comes to cleaning and maintaining garments. They are typically formulated to provide a strong and durable hold, which is why they can be particularly tricky to remove once they have adhered to fabric.
Adhesives are polymer-based and are specifically designed to bond strongly to surfaces, including fabric. Heat makes them softer and stickier; cold makes them brittle. That’s the key to removing them.
Step-by-Step Removal:
Freeze the Adhesive
Place ice cubes directly on the adhesive, or put the entire garment in the freezer for 20–30 minutes. Cold temperatures make the adhesive brittle and much easier to remove cleanly.
Scrape Gently
Using a dull knife, the edge of a credit card, or the back of a spoon, carefully scrape away as much of the hardened adhesive as possible. Work from the outer edges inward and use a light touch to avoid snagging or damaging the fabric.
Apply a Solvent
Rubbing alcohol (isopropyl alcohol) or a stain stick can help dissolve the adhesive residue left behind.
What to Remember: Apply a small amount to a clean cloth and blot the area. don’t rub. For tougher residues, acetone (nail polish remover) works on many fabrics, but always spot-test first on a hidden seam.
Pre-treat and Wash
Apply a liquid detergent or stain remover directly to the area, let it sit for 5–10 minutes, then launder in warm water according to the care label.
Check Before Drying
Inspect the area before putting it in the dryer. Any remaining adhesive residue will be set permanently by heat.
| Adhesive Type | Best Remover | Notes |
|---|---|---|
| Chewing gum | Freezing + scraping | Never apply heat |
| Sticker residue | Rubbing alcohol or oil | Olive oil works on many surfaces |
| Super glue | Acetone (nail polish remover) | Spot-test first; avoid acetate fabrics |
| Tape residue | Rubbing alcohol | Works on most fabrics |
| School/craft glue | Cold water + liquid detergent | Water-soluble; usually easier to remove |

How to Remove BBQ & Tomato Sauce Stains
A complex stain can be challenging to remove as it contains a mixture of sugar, tomato, oil, and various spices.
This combination poses difficulties primarily because it involves three distinct types of components: tannin (found in tomato), oil (from the oil used in the mixture), and dye (from spices and the tomato).
BBQ and tomato-based sauces are combination stains: They contain tannins (from tomato), oils, sugar, and colour from spices and pigments. Each component bonds to fabric differently, which is why a single treatment rarely does the job on its own.
Step-by-Step Removal
Remove the Excess
Gently scrape off any solid or thick residue with a spoon or blunt knife. Resist the urge to rub it in.
Flush from the Back with Cold Water
Turn the garment inside out and run cold water through the back of the stain. This pushes the stain out of the fabric rather than deeper into it.
Apply Liquid Detergent
Work a small amount of liquid detergent directly into the stained area using your fingers or a soft brush. This breaks down the oily components in the sauce.
Treat the Tannin with White Vinegar
Apply white vinegar to the stain and let it sit for 5 minutes. The acidity of vinegar helps to lift the tomato-based pigments and tannins from the fibre.
Use a Stain Stick for Stubborn Marks
For dried or particularly stubborn BBQ sauce stains, a stain stick applied directly to the area and worked in gently can help break down the remaining residue before laundering.
Launder in Warm Water
Wash on a warm cycle (check the care label), which helps dissolve the remaining sugars and oils. Check the stain before drying.
How To Remove Blood Stains
A protein stain can be particularly challenging to remove, and it’s crucial to remember that heat is your enemy during the cleaning process.
When dealing with fresh blood stains, the first step is to rinse the stained area in cold running water.
This helps to remove as much of the blood as possible before it sets. After rinsing, soak the fabric in cold water for a while to further loosen the stain. Following the soak, wash the garment in cold water to complete the removal process.
Step-by-Step Removal
Act Immediately with Cold Water
Rinse the stain under cold running water as quickly as possible. For fresh blood, this alone may be enough to flush most of it out.
Apply Hydrogen Peroxide (for White or Light Fabrics)
Hydrogen peroxide (3%) is highly effective on blood stains; it bubbles on contact and breaks down the proteins. Apply to the stained area, let it fizz for a few minutes, then blot and rinse with cold water. Spot-test first, hydrogen peroxide can lighten some coloured fabrics.
Use Cold Salty Water (for Coloured Fabrics)
Dissolve a tablespoon of salt in a cup of cold water and soak the stained area. Salt helps draw out the blood without bleaching.
Apply an Enzyme-Based Stain Remover
Enzyme-based stain removers break down protein molecules and are among the most effective stain removers for blood. Apply, let sit for 10–15 minutes, then wash in cold water.
Wash in Cold Water Only
Launder in cold water. Never use hot. Check before drying.
How To Remove Dried Blood Stains
The approach is slightly different. Begin by applying an enzyme detergent directly to the stained area. Enzyme detergents are designed to break down protein-based stains like blood.
Allow the detergent to sit on the fabric for 30 to 60 minutes to penetrate the stain effectively. Once the waiting period is over, wash the fabric as you normally would.
As an advanced tip, if the stained fabric is white, hydrogen peroxide can be an effective solution to help lift the stain.
However, it’s essential to test the hydrogen peroxide on a small, inconspicuous area of the fabric first to ensure that it does not cause any discoloration or damage. Following these steps can significantly improve your chances of removing blood stains effectively.
How To Remove Ink Stains
Ink removal methods largely depend on the type of ink involved. Here’s a detailed overview:
Ballpoint Ink
For ballpoint ink stains, using rubbing alcohol is an effective method. It works by breaking down the oils and pigments within the ink.
To apply, dab a small amount of rubbing alcohol onto a clean cloth or cotton ball and gently blot the stain. Avoid rubbing, as this may spread the stain further. After the stain starts to lift, rinse with cold water and wash the fabric as usual.
Permanent Ink
Removing permanent ink can be more challenging and may be irreversible depending on the surface it has stained. Solutions such as isopropyl alcohol, hand sanitizer, or specialized ink removers may help lift the stain.
Apply the solution to the stained area, let it sit for a few minutes, and then blot it with a clean cloth.
However, be cautious, as some fabrics and surfaces may be damaged or discolored by these agents, and results can vary. If the stain persists, professional cleaning may be necessary.
How To Remain Mud Stains
Mud consists of various elements, including soil, organic matter, and water. This complex mixture can make it difficult to identify the specific components that contribute to the stain, complicating the cleaning process.
When mud dries, it can set the stain more firmly. The longer the mud remains on a surface, the harder it becomes to lift, requiring more aggressive cleaning methods that might harm the fabric or surface.
Step 1
Let the mud stain dry completely before attempting to clean it. This is crucial because trying to wash wet mud can cause the stain to spread and embed deeper into the fabric fibers, making it more difficult to remove later. It’s best to allow the mud to harden, which will make it easier to scrape off.
Step 2
Once the mud is dry, gently brush off as much of the dried mud as you can. Use a soft brush, such as a toothbrush or a clothes brush, to avoid damaging the fabric or embedding particles further into the fibers.
Be cautious not to rub too hard, as this can cause the stain to penetrate deeper or shatter the particles, making it more difficult to remove.
Step 3
After you’ve removed as much dried mud as possible, pretreat the stain. Apply a liquid laundry detergent or a specialized stain remover directly onto the stained area. It’s advisable to check the product label to ensure it’s suitable for the specific fabric.
For particularly stubborn, clay-based mud stains, you might find that making a paste of water and detergent can be more effective. Apply the paste to the stain and let it sit for about 10 to 15 minutes to help break down the mud before washing.
Step 4
Following the pretreatment, wash the garment according to the fabric’s care instructions. Ideally, use warm water during the wash cycle, as this temperature can enhance the effectiveness of the detergent in breaking down any residual soil.
Make sure to check the fabric label for washing instructions, including suitable water temperature and wash cycle.
If the stain persists after washing, avoid drying the fabric until you’re certain the stain is removed, as heat can set the stain permanently. If necessary, repeat the pretreatment and washing steps until the stain is gone.
How To Remove Chocolate Stains
Chocolate is a “double threat” stain because it contains tannins (dark pigment) and fats/oils (cocoa butter). To remove it successfully, you have to tackle both without using heat, which “bakes” the oils into the fabric fibers.
Never use hot water first: Heat melts the cocoa butter and permanently bonds it to the fibers.
If the chocolate is fresh and gooey, do not wipe it. Wiping pushes the oils deeper into the weave.
Freeze it
Put the garment in the freezer for 15 minutes or hold an ice cube against the spot. Once hardened, use a dull butter knife or a spoon to gently flake off the excess solids.
Turn it Inside-out
Turn the garment inside-out. Run cold water through the back of the stain. This pushes the particles out of the fibers instead of forcing them through the fabric.
Since chocolate is oily, you need a surfactant (soap) and an absorbent (baking soda).
1 part Dish Soap + 1 part Baking Soda.
Apply the paste and gently tap it into the fabric with an old toothbrush. Let it sit for at least 20 minutes.
For White Clothes: Add a splash of white vinegar or hydrogen peroxide to the paste to help break down the dark tannins.
How To Choose The Right Stain Remover
Walk into any supermarket, and you’ll find dozens of stain removers: sprays, gels, powders, and stain sticks. Different stain removal tools are designed for specific scenarios:
Sprays and Gels: Ideal for pre-treating laundry. Gels are particularly effective for heavy fabrics like denim because they remain active on the surface longer without drying out.
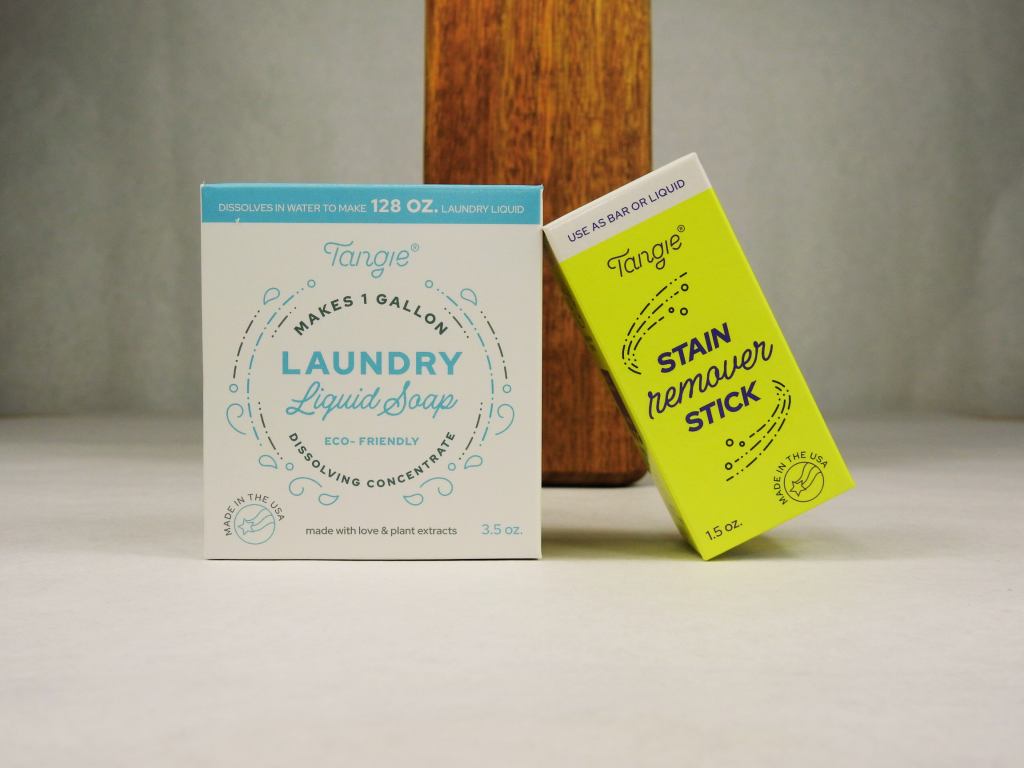
Stain Sticks: Convenient for immediate application on fresh spots. These solid formulas prevent stains from setting for up to a week, allowing you to wait until your next laundry cycle.
Portable Pens: Compact liquid treatments for fresh spills like coffee or wine while away from home. They are highly effective on water-based stains but are not intended for heavy grease.
| Stain Remover Type | Best Used For | Pros | Cons |
|---|---|---|---|
| Stain stick | On-the-go treatment; pre-treating before washing. | Portable; easy to apply directly; great for travel | May need to sit before washing |
| Liquid stain remover (spray) | General pre-treatment; most stain types | Versatile; easy to apply | Can oversaturate fabric |
| Enzyme-based cleaner | Protein stains (blood, sweat, food) | On-the-go treatment; pre-treating before washing | Needs time to work; not for all fabrics |
| Oxygen bleach (e.g. OxiClean) | Colours and whites; tannin stains | Colour-safe; effective on dried stains | Requires soaking time |
| Chlorine bleach | White fabrics only | Powerful whitener | Can yellow fabric over time; damages colours |
| Rubbing alcohol | Ink, adhesives, dye stains | Fast-acting; widely available | Can dry out some fabrics |
| White vinegar | Tannins, deodorant and general brightening | Natural; inexpensive; multi-use | Scent (dissipates); weaker than commercial options |
| Baking soda | Odour, grease absorption, whitening | Natural; safe for all fabrics | Works best in combination with other treatments |
| Dish soap | Grease and oil stains | Highly effective degreaser | Breaks down proteins at the molecular level |
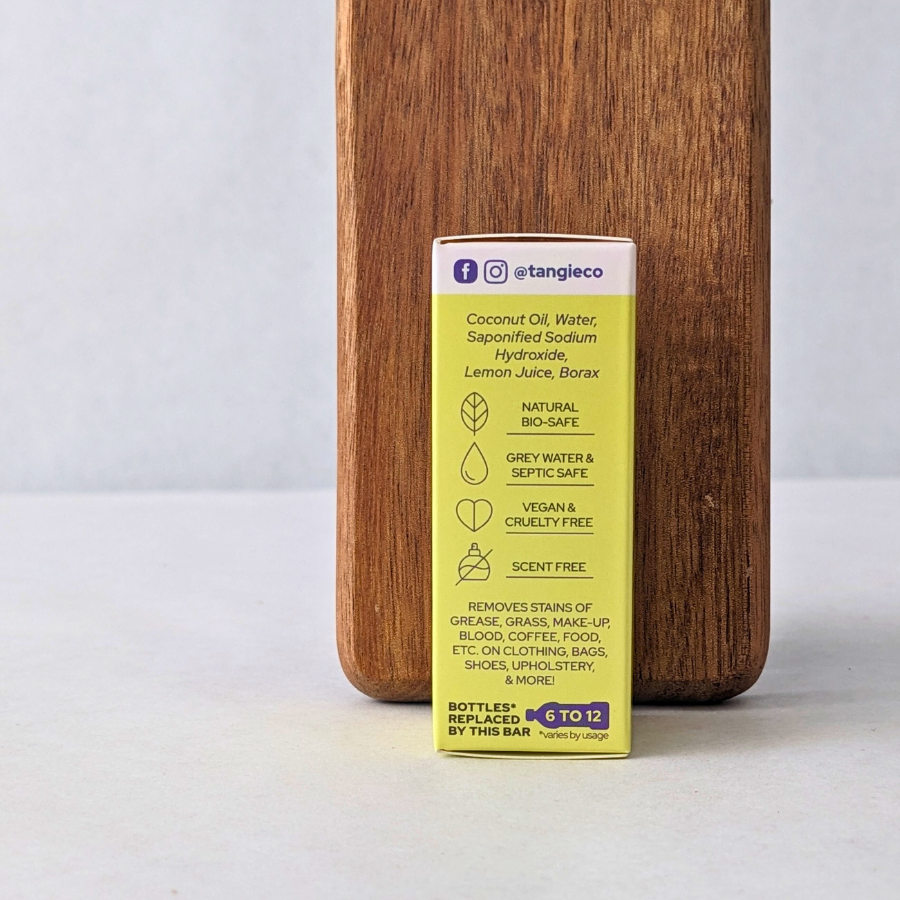
When to Reach for a Stain Stick
A stain stick is one of the most underrated stain removers in your arsenal. It’s solid, concentrated, and designed to be rubbed directly onto the stain, which means it penetrates the fabric fibres rather than just sitting on the surface. It’s ideal when:
- You’re away from home and need a quick pre-treatment
- You want a precise application in a small area
- You’re pre-treating before tossing a garment in the wash
- You want a zero-waste or low-packaging option
Look for stain sticks that are enzyme-based for the broadest effectiveness across stain types.
Do’s & Don’ts For Stain Removal
When it comes to laundry, the small habits we maintain can significantly impact the longevity and quality of our wardrobe. Simple practices, like sorting clothes by color and fabric type, choosing the right wash cycle, and using appropriate detergents, can prevent damage and fading.
Laundry tips and hacks can be found easily on the internet, but not all of them work for you.
The “Do’s” of Stain Removal
| The Do’s ✅ | Why |
|---|---|
| Act immediately | Fresh stains are significantly easier to remove |
| Blot from the outside in | Prevents spreading and pushing deeper into fibres |
| Check the care label | Tells you safe temperatures and which solvents to avoid |
| Spot-test any new product | Some stain removers can damage or discolour certain fabrics |
| Use cold water for protein stains | Hot water sets them permanently |
| Follow with a deep conditioner (on fabric) | Some treatments can strip fabric; conditioner in the wash helps |
| Air dry if unsure | Lets you confirm the stain is gone before applying heat |
| Use enzyme-based stain removers on food stains | They break down stains at the molecular level |
The “Don’ts” of Stain Removal
| Don’t ❌ | Why |
|---|---|
| Rub the stain | Spreads it and drives it deeper into the fabric |
| Use hot water on blood or egg | Proteins bond permanently to fibres when heated |
| Put stained items in the dryer | Heat sets stains; they become nearly impossible to remove |
| Use chlorine bleach on coloured fabrics | Will strip or damage colour |
| Leave treatments on too long | Some solvents and bleaches can degrade fabric fibres |
| Ignore the care label | Different fabrics need different treatments |
| Overuse stain removers on the carpet | Residue attracts dirt; always rinse thoroughly |
| Give up after one attempt | Stubborn stains often need two or three treatments |
There’s a reason stain removal is considered something of an art: it takes a little knowledge, the right stain removers, and the right timing. But once you understand that different stains require different treatments, you’ll stop feeling helpless every time something spills.
The most important things to remember: act fast, blot, don’t rub, use cold water for proteins, and never let a stained item go through the dryer until the stain is fully gone. Keep a stain stick handy at home and in your bag, having the right tool at the right moment makes all the difference.
With this stain-removing guide in your corner, there’s almost no spill you can’t conquer.